Hello Ladies and Gents...
 |
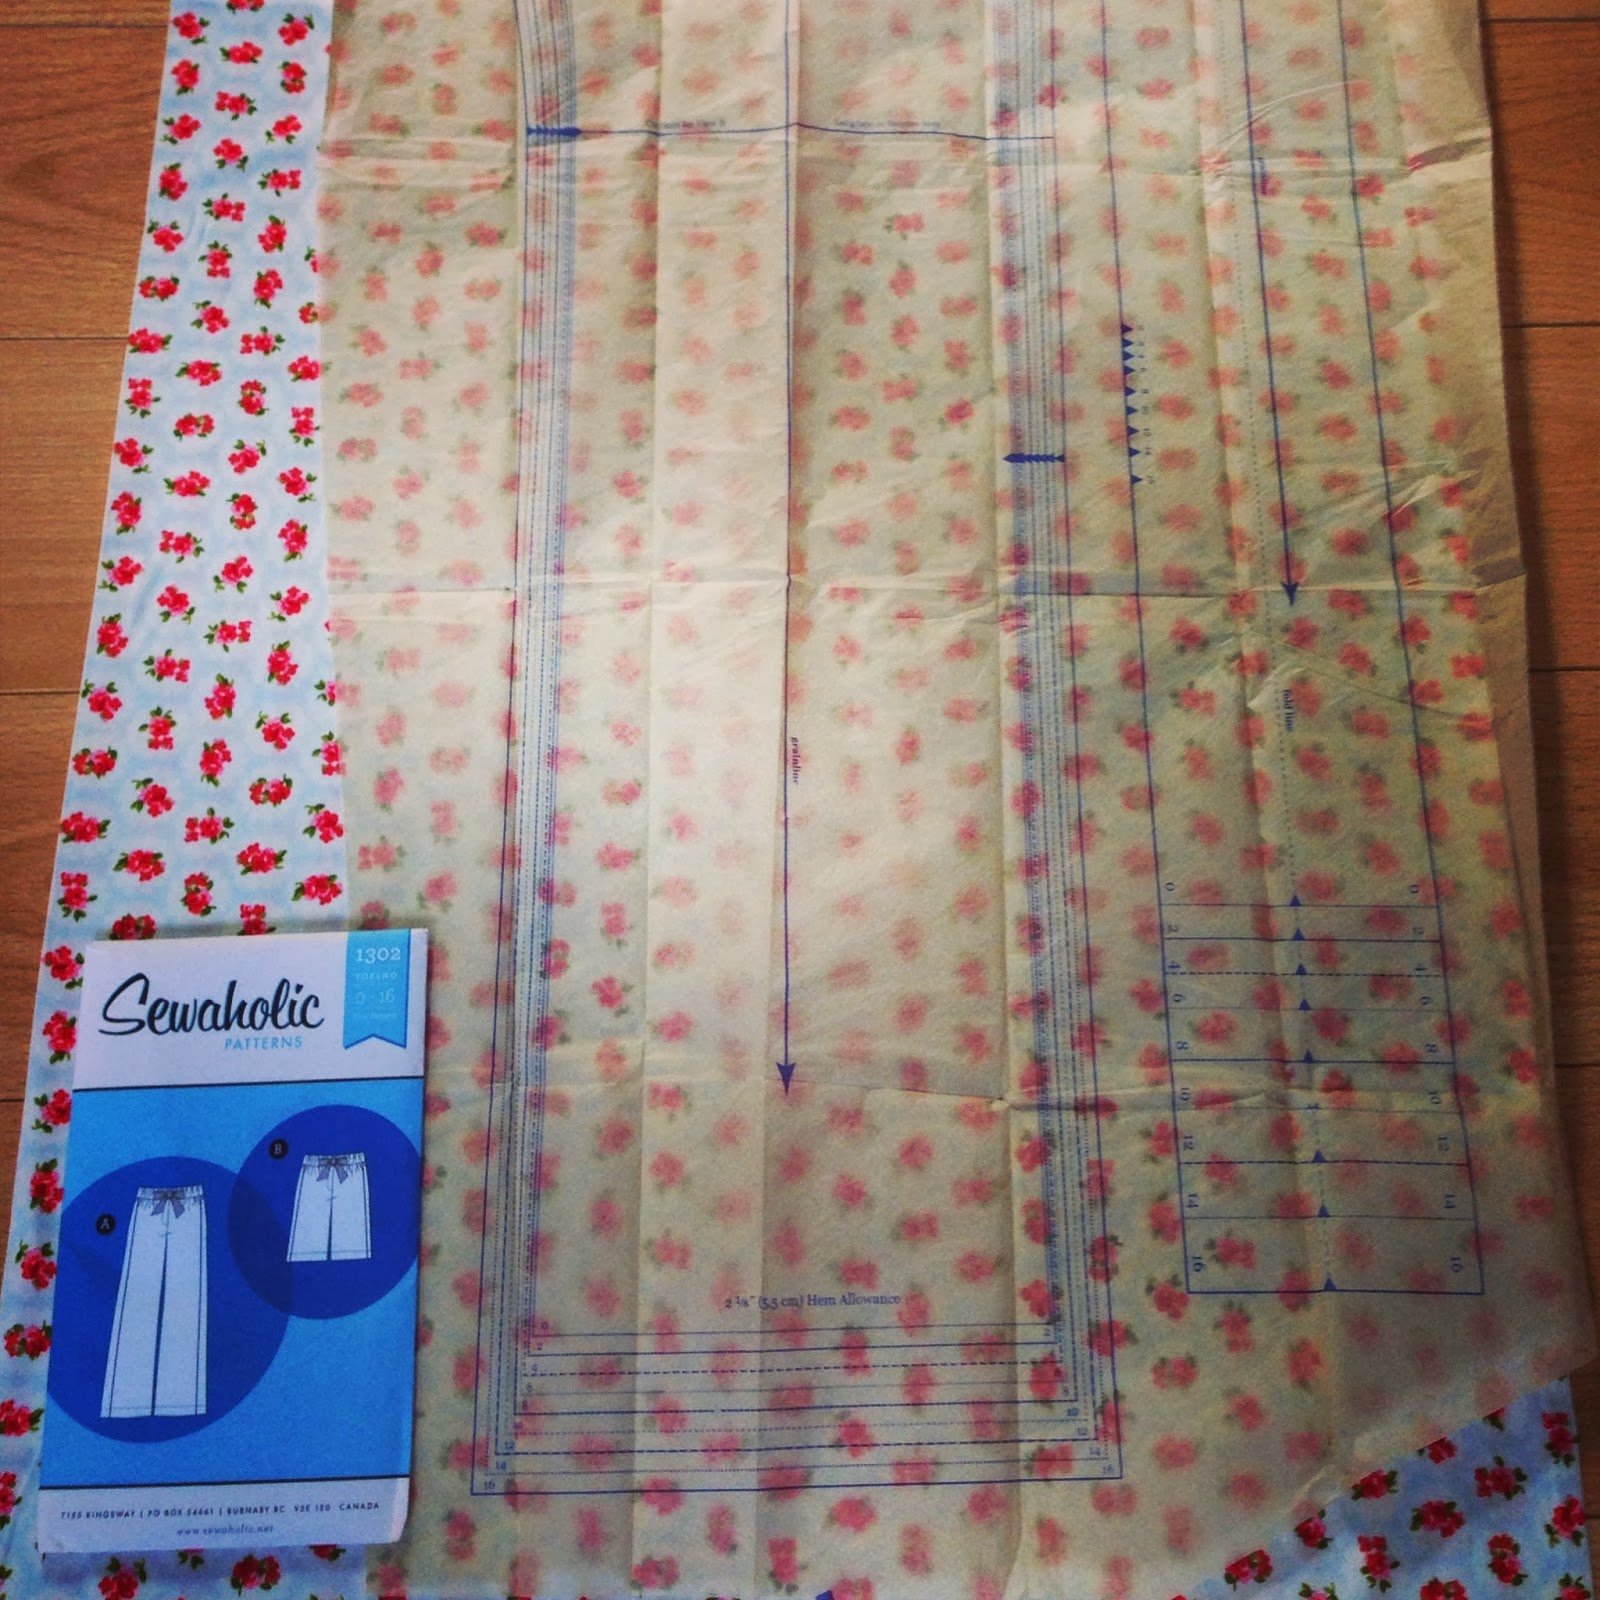
| Sewaholic Pattern |
Today was going to be the day I started on my new sewing project - my Tofino Lounge Trousers (aka pyjamas) by Sewaholic. I found this pattern a little while ago and with Sewaholic specifically aiming their patterns at pear shape ladies I bought it and I've been looking forward to making it since then. I finally found some time so dug out the sewing machine. To my disgust I had put away my Singer covered in red fluff and dust (from making my red skirt...Seeing Red... Red Circles of Fabric)... the poor thing. So before I did anything I got the manual out to see how to maintain my machine.
I've cleaned it before, but it was a good four months ago and with the
 |
| Before.... |
thought of embarking on a new sewing project I wanted the machine to be lint and dust free and stitching like a pro. Top Tip: please check your manual on how to clean your machine as they are probably all a little different. I got manual, read through it, got all the necessary tools and I was ready to go!
The first thing is not to have the power on just in case - you don't want to electrocute yourself. With the power off, I took off the presser foot and the needle. Once removed, I started to unscrew the needle plate. When I took off the needle plate it was full of lint and grease - yuk. I took the little brush that came with my machine and with a lot of brushing and a few big breathes this part of my machine was clean.
 |
| Bobbin House |
Now came the tricky part - to clean the bobbin house or hook. Remove the bobbin and flip back the retaining arms. Remove the hook race cover and hook and clean with a damp soft cloth. Top tip: Use one you don't mind getting greasy and also remember to use one that is soft and damp. Once cleaned, place to one side. Gently wipe the inside of the machine to remove any dust or excess grease. To lubricate your machine I use the Singer Super Oil which is specifically for sewing machines. Drop a couple of drops onto the hook race and move handwheel a few times. Once happy insert the hook and the hook race cover. Snap back the two hooks to hold the bits in place. Insert your bobbin, replace the needle plate, re-connect the presser foot and
 |
| Hook Race Cover & Hook |
needle (it makes sense to replace it with a new needle as you've done all the hard work) and wipe down the whole machine and you are done. I couldn't wait to use it so I gave it a test run... it stitched like a dream!
 |
| After... |
I'm so pleased I did it because now I know that when I go to use my sewing machine, it is ready to go with a fresh needle and dust free. It literally takes about 15 minutes - 15 minutes well spent in my opinion - so what are you waiting for - get out your sewing machine and manual and get cleaning!
Happy Cleaning x

.JPG)


.JPG)