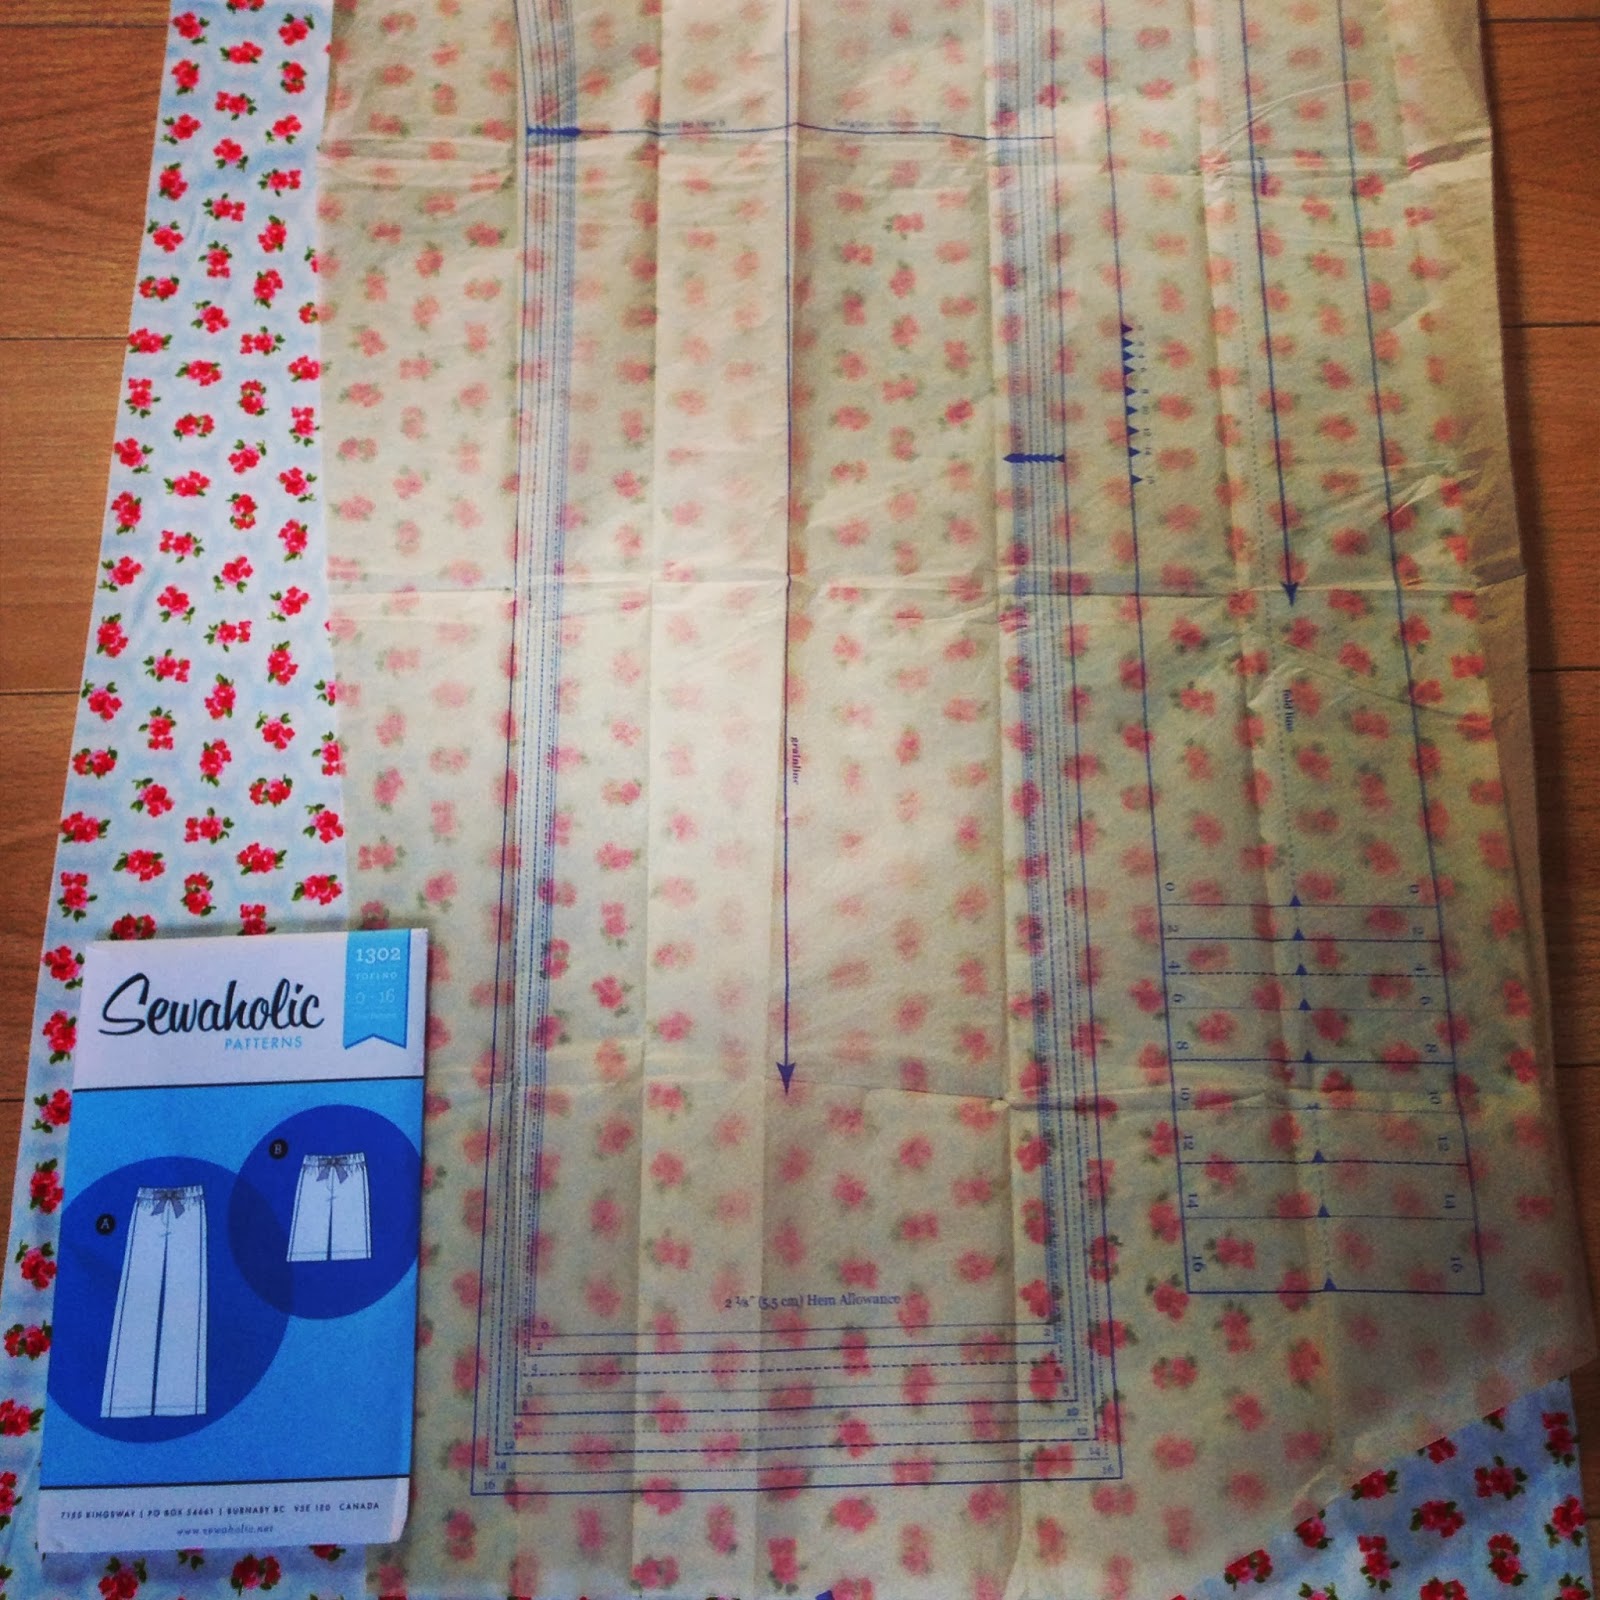
Firstly apologies for the lack of love I've been giving my blog... life has been getting in the way... so I'll do my best to update you with what projects I've been up to and other adventures along the way :)
My last blog was about cutting out the fabric and practicing button holes for the Tofino Lounge Trousers. Now with all the pieces cut out ready, I needed to tidy the edges of the fabric so they didn't fray. I've mentioned before I don't have an Overlocker so I use a zig-zag stitch to stop the edges from fraying. To do this, you put one part of the zig-zag stitch into the fabric and the other over the edge. A great blog which shows this is Tilly and the Buttons - Finishing Seams - Zig-Zag Stitch. Once I had gone around all the pieces of fabric, I pinned the fabric (right sides together) aligning the notches. Once pinned, I took the first leg to the sewing machine, sewing 1.5cm along the seam. I did this to both legs. With legs had been sewn now came the tricky part of sewing them together!
So with this in mind, I re-read the pattern. I inserted one leg inside the other (with one leg right side out and the other inside out), lined up the notches, pinned and sewed following the 1.5cm allowances and as per the pattern. Top Tip: Please make sure you follow the 1.5cm allowance... I think mine varied so when finished the trousers were a little snug. Once sewn together, I pulled the leg out and they actually looked they the beginnings of some trousers... smiles all round :)
The next steps was to make the waistband. As my fabric was light-weight I bought some interface to give the fabric more strength - specifically around the the button holes. I purchased some interface that would be ironed on. Top Tip: Practice ironing the interface on a bit of scrap fabric. This will ensure you iron the right side to the fabric and also check out much heat needs to be applied to make it a success. Once I had done a test run, I cut the interface to fit over the buttonholes and ironed accordingly. Once completed, I made the buttonholes (more information on buttonholes on my previous blog Preparing for Tofino Lounge Trousers) and followed the pattern on attaching the waistband to the legs.
Waistbands and I don't seem to get along very well. It took me over an hour to understand what the pattern meant. What I worked out was that the waistband goes over legs and not just attached to the top. This is hard to explain, but from the pattern I thought it was pinned to the top - not that the waistband was actually attached up-side-down, wrong side out and over the legs - I hope I've explained it ok! Top Tip: When sewing the waistband don't forget to leave a big enough hole at the back to allow the tie belt and elastic through. Ok, so waistband and legs all attached and nearly finished - hurrah!
Here is when I had a change of heart and made the tie belt. I was lucky enough to have red fabric left over from when I made the red circle skirt so cut out the pattern and fabric and started to make the belt. Once sewn, turn the fabric inside out - please allow some patience for this - it made my hands have cramp but it is worth it. Top Tip: To make sharp points gently push the ends with some fabric scissors but don't push to hard or you'll go through the fabric! Once the belt was complete, I inserted the elastic through the opening in the back of the waistband. Top Tip: When threading the elastic pin one end with a nappy pin to the fabric and put a good size nappy pin on the other end. This makes it easier to thread around the waistband. Once threaded, hand sew the ends of the elastic together - make sure you do this securely. Now thread the tie belt around and hand sew the hole at the back of the waistband. The only thing left to do is hem the trousers and ta-dah - I had finished my Tofino Lounge Trousers all ready for Rhythm Riot!
All in all I would say the trousers took me about 10 hours or so. I found the pattern quite taxing but as a beginner I thought I did quite well. The most challenging part I found was connecting the waistband to the trousers and making the waistband align when stitching in the ditch (stitching in the ditch being sewing in the seam line). I failed badly on this part and had to hand sew the inside part of the waistband as I had sewn this when using the sewing machine. Again, this will take practice and as the trousers are so comfortable I will be making another pair!
Top Tips:
- Equipment: Fabric, pins, pattern, scissors, sewing machine, button hole presser foot and thread - oh and patience!
- Please make sure you follow the 1.5cm allowance... I think mine varied so when finished the trousers were a little snug.
- Practice ironing the interface on a bit of scrap fabric. This will ensure you iron the right side and check out much heat needs to be applied to make it a success
- When sewing the waistband don't forget to leave a big enough hole at the back to allow the tie belt and elastic through
- To make sharp points gently push the ends with some fabric scissors but don't push to hard or you'll go through the fabric!
- When threading the elastic pin (using a nappy pin) one end to the fabric and put a good size pin (again, using a nappy pin) on the other end. This makes it easier to thread around the waistband
- Tilly and the Buttons: http://www.tillyandthebuttons.com/2013/03/finishing-seams-zigzag-stitch.html
- 'All you need to know about machine and hand sewing - Sewing Basics' by Sandra Bardwell
Happy Sewing x